Azure DevOps pipeline Bicep-el
Azure-ban erőforrást sok féle képpen létrehozhatunk, de bizonyos idő után biztosan eljutunk az Infrastructure as code (IaC) megoldásokig. Ha már rendelkezésünkre áll a kellő tudás ahhoz, hogy kész infra kódokat írjunk, akkor jöhetnek a pipeline megoldások, amikor a központi tárból nem csak magát az alkalmazást hozhatjuk létre, de a hozzá tartozó infrastruktúrát is. Ebben a postban lépésről lépésre végigmegyek egy bicep-es VM környezet létrehozásán az Azure DevOps-al.
Előfeltételek
Környezet létrehozásához a következőkre van szükség:
- Service Principal (SP)
- Azure DevOps regisztráció
- Azure előfizetés amibe van pár $
- Ingyenes DevOps esetén, ha még MSDN se áll rendelkezsére, lehet igényelni ingyenes Parallel job-ot (legalul leírom hogyan)
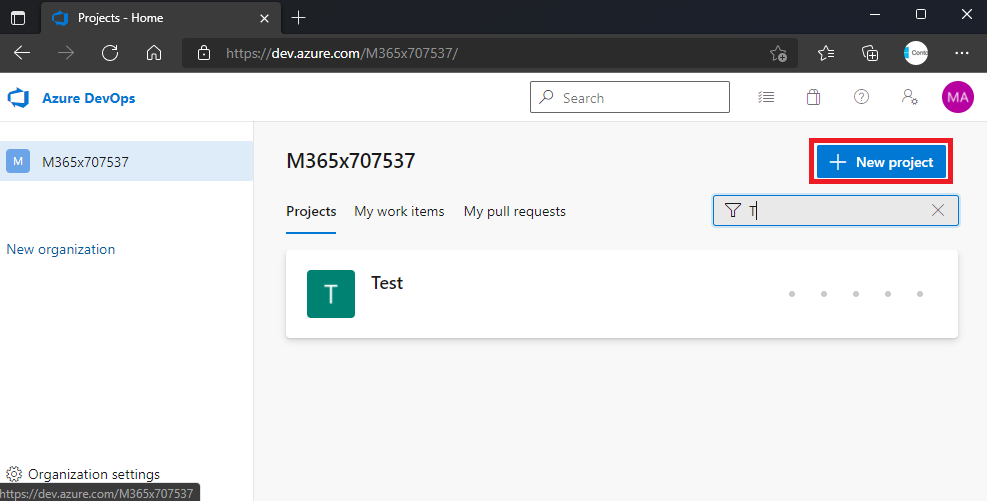
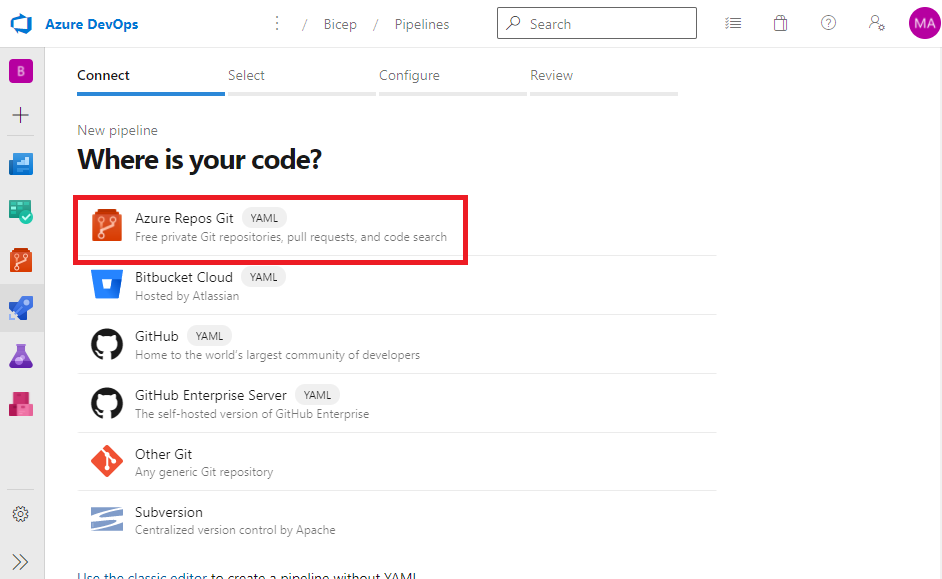
Azure DevOps projekt létrehozása
Első lépésként hozzunk létre egy üres projektet, melyben tároljuk a szükséges fájlokat, illetve ahonnan tudjuk majd futtatni a pipeline-t. http://dev.azure.com
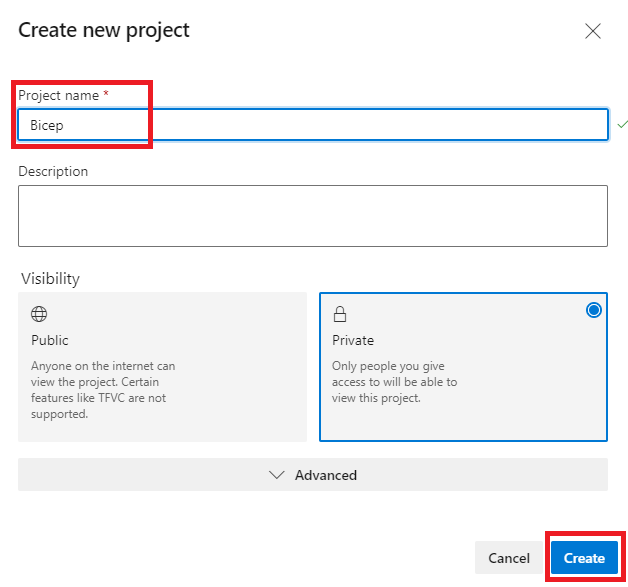
Ezzel el is készült az üres projekt, most hozzunk létre egy service connection-t, mely segítségével erőforrásokat hozhatunk létre az előfizetésünkben.
Service connection létrehozása
Ezt már egy előző postban leírtam, hogy hogyan is kell létrehozni, mely itt található.
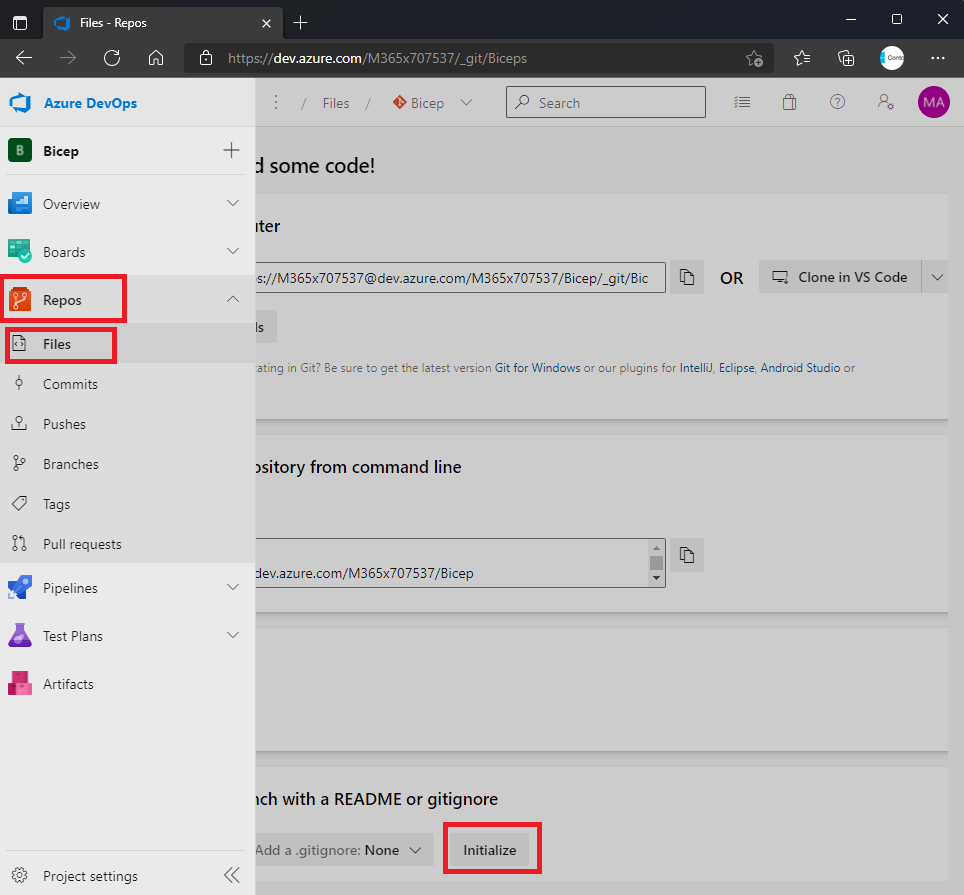
Bicep fileok létrehozása
A példa feladatban egy egyszerű VM-et fogunk létrehozni, melyet a Microsoft Bicep példatárából másoltam ki. Kicsit módosítottam rajta, hogy támogassa az ismételt futtatásokat is. Ezek a példa Bicep file-ok itt találhatóak.
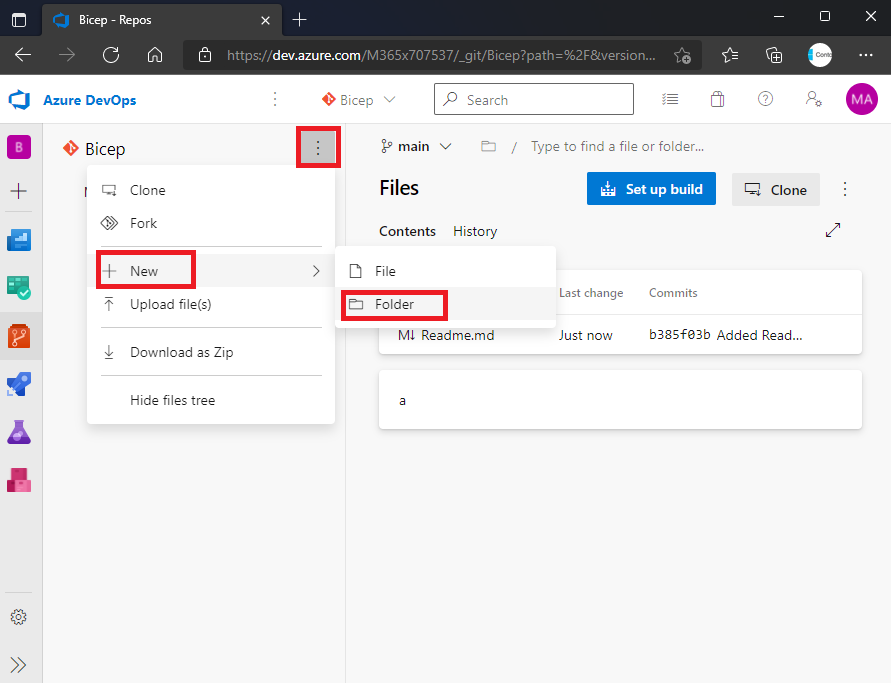
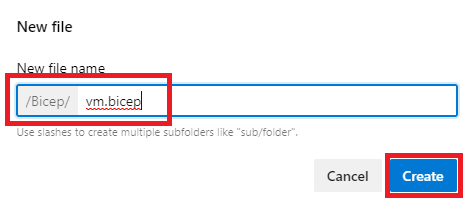
Hozzuk létre a Bicep mappába a két szükséges file-t.
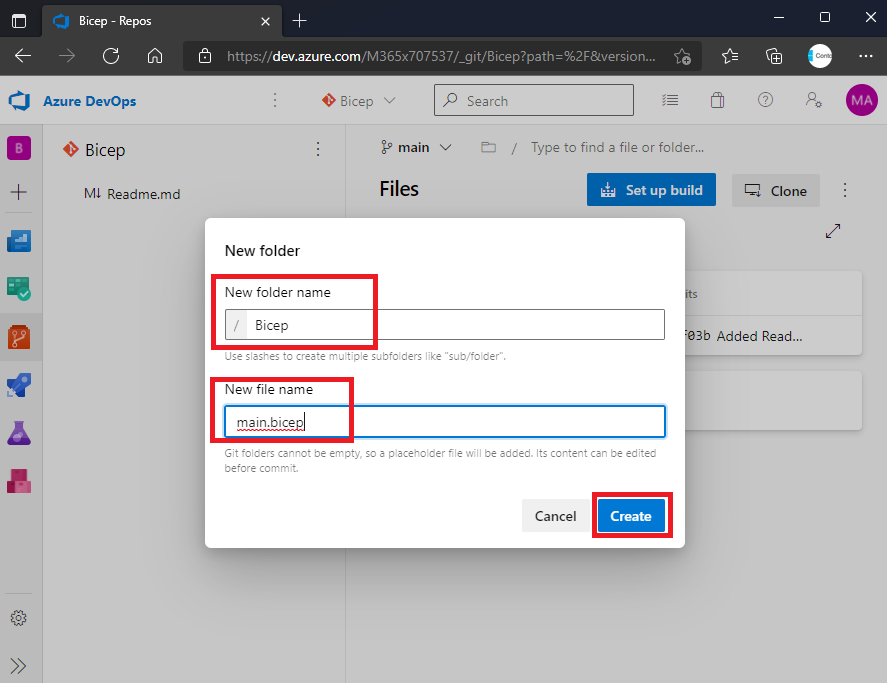
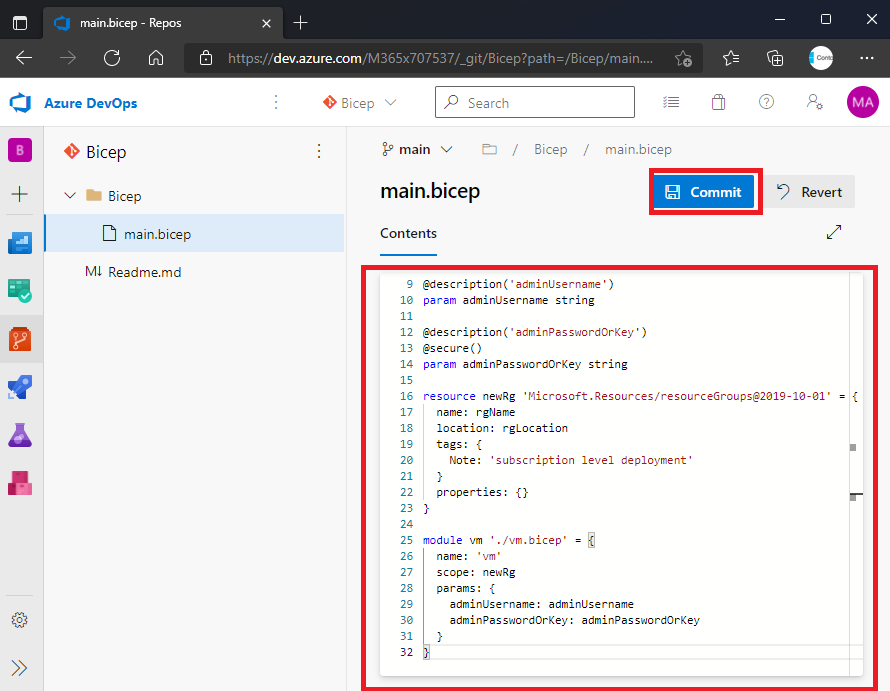
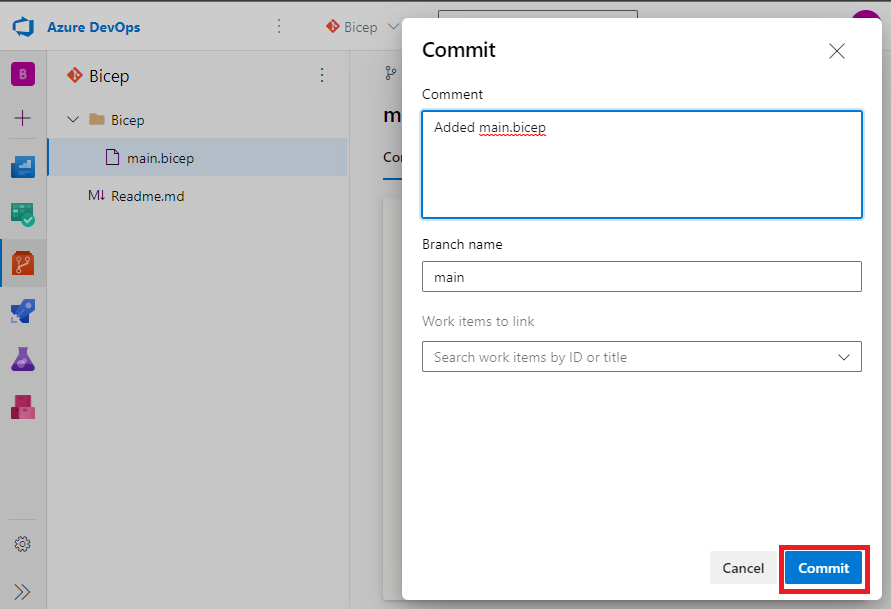
Illesszük be a következő kódot:
1
2
3
4
5
6
7
8
9
10
11
12
13
14
15
16
17
18
19
20
21
22
23
24
25
26
27
28
29
30
31
32
targetScope = 'subscription'

@description('Name of the resourceGroup to create')
param rgName string = 'rgname'

@description('Location for the resourceGroup')
param rgLocation string = 'westeurope'

@description('adminUsername')
param adminUsername string

@description('adminPasswordOrKey')
@secure()
param adminPasswordOrKey string

resource newRg 'Microsoft.Resources/resourceGroups@2019-10-01' = {
  name: rgName
  location: rgLocation
  tags: {
    Note: 'subscription level deployment'
  }
  properties: {}
}

module vm './vm.bicep' = {
  name: 'vm'
  scope: newRg
  params: {
    adminUsername: adminUsername
    adminPasswordOrKey: adminPasswordOrKey
  }
}
Ezután hozzuk létre a második fájlt is.
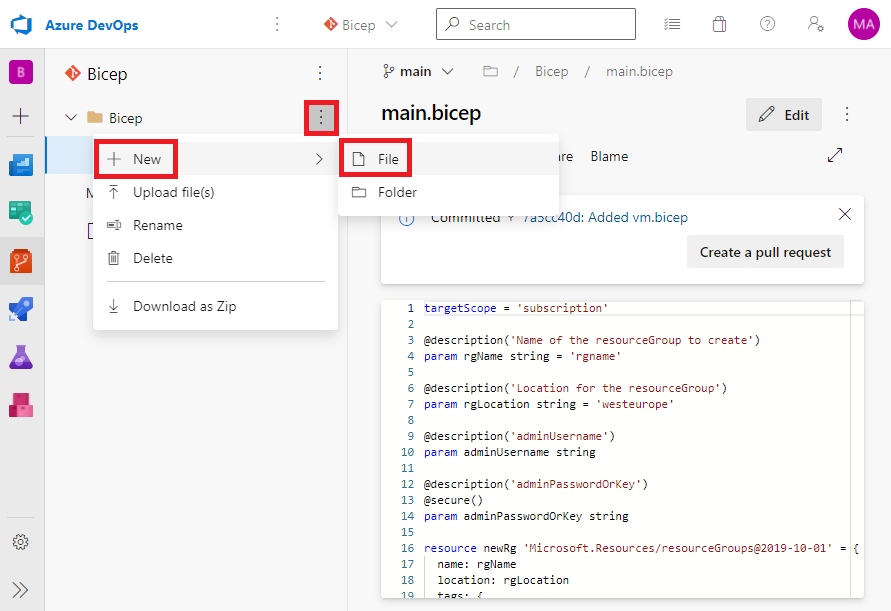
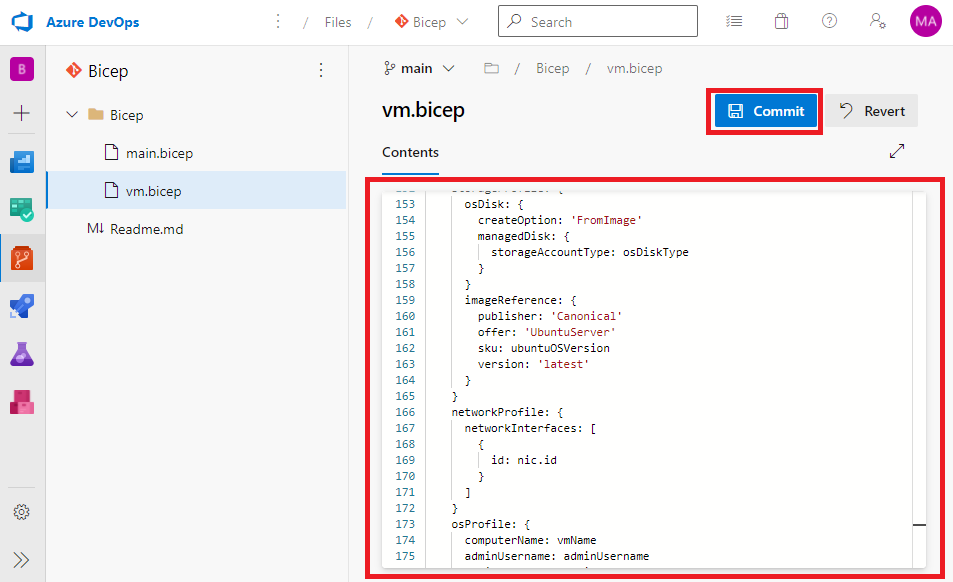
Illesszük be a következő kódot:
1
2
3
4
5
6
7
8
9
10
11
12
13
14
15
16
17
18
19
20
21
22
23
24
25
26
27
28
29
30
31
32
33
34
35
36
37
38
39
40
41
42
43
44
45
46
47
48
49
50
51
52
53
54
55
56
57
58
59
60
61
62
63
64
65
66
67
68
69
70
71
72
73
74
75
76
77
78
79
80
81
82
83
84
85
86
87
88
89
90
91
92
93
94
95
96
97
98
99
100
101
102
103
104
105
106
107
108
109
110
111
112
113
114
115
116
117
118
119
120
121
122
123
124
125
126
127
128
129
130
131
132
133
134
135
136
137
138
139
140
141
142
143
144
145
146
147
148
149
150
151
152
153
154
155
156
157
158
159
160
161
162
163
164
165
166
167
168
169
170
171
172
173
174
175
176
177
178
179
180
181
182
183
184
@description('The name of you Virtual Machine.')
param vmName string = 'simpleLinuxVM'

@description('Username for the Virtual Machine.')
param adminUsername string

@description('Type of authentication to use on the Virtual Machine. SSH key is recommended.')
@allowed([
  'sshPublicKey'
  'password'
])
param authenticationType string = 'password'

@description('SSH Key or password for the Virtual Machine. SSH key is recommended.')
@secure()
param adminPasswordOrKey string

@description('Unique DNS Name for the Public IP used to access the Virtual Machine.')
param dnsLabelPrefix string = toLower('simplelinuxvm-${uniqueString(resourceGroup().id)}')

@description('The Ubuntu version for the VM. This will pick a fully patched image of this given Ubuntu version.')
@allowed([
  '12.04.5-LTS'
  '14.04.5-LTS'
  '16.04.0-LTS'
  '18.04-LTS'
])
param ubuntuOSVersion string = '18.04-LTS'

@description('Location for all resources.')
param location string = resourceGroup().location

@description('The size of the VM')
param vmSize string = 'Standard_B4ms'

@description('Name of the VNET')
param virtualNetworkName string = 'vNet'

@description('Name of the subnet in the virtual network')
param subnetName string = 'Subnet'

@description('Name of the Network Security Group')
param networkSecurityGroupName string = 'SecGroupNet'

var publicIPAddressName = '${vmName}PublicIP'
var networkInterfaceName = '${vmName}NetInt'
var osDiskType = 'Standard_LRS'
var subnetAddressPrefix = '10.1.0.0/24'
var addressPrefix = '10.1.0.0/16'
var linuxConfiguration = {
  disablePasswordAuthentication: true
  ssh: {
    publicKeys: [
      {
        path: '/home/${adminUsername}/.ssh/authorized_keys'
        keyData: adminPasswordOrKey
      }
    ]
  }
}

resource nic 'Microsoft.Network/networkInterfaces@2020-06-01' = {
  name: networkInterfaceName
  location: location
  properties: {
    ipConfigurations: [
      {
        name: 'ipconfig1'
        properties: {
          subnet: {
            id: resourceId('Microsoft.Network/virtualNetworks/subnets', virtualNetworkName, subnetName)
          }
          privateIPAllocationMethod: 'Dynamic'
          publicIPAddress: {
            id: publicIP.id
          }
        }
      }
    ]
  }
}

resource nsg 'Microsoft.Network/networkSecurityGroups@2020-06-01' = {
  name: networkSecurityGroupName
  location: location
  properties: {
    securityRules: [
      {
        name: 'SSH'
        properties: {
          priority: 1000
          protocol: 'Tcp'
          access: 'Allow'
          direction: 'Inbound'
          sourceAddressPrefix: '*'
          sourcePortRange: '*'
          destinationAddressPrefix: '*'
          destinationPortRange: '22'
        }
      }
    ]
  }
}

resource vnet 'Microsoft.Network/virtualNetworks@2020-06-01' = {
  name: virtualNetworkName
  location: location
  properties: {
    addressSpace: {
      addressPrefixes: [
        addressPrefix
      ]
    }
    subnets: [
      {
        name: subnetName
        properties: {
          addressPrefix: subnetAddressPrefix
          networkSecurityGroup: {
          id: nsg.id
          }
        }
      }
    ]
  }
}


resource publicIP 'Microsoft.Network/publicIPAddresses@2020-06-01' = {
  name: publicIPAddressName
  location: location
  sku: {
    name: 'Basic'
  }
  properties: {
    publicIPAllocationMethod: 'Dynamic'
    publicIPAddressVersion: 'IPv4'
    dnsSettings: {
      domainNameLabel: dnsLabelPrefix
    }
    idleTimeoutInMinutes: 4
  }
}

resource vm 'Microsoft.Compute/virtualMachines@2020-06-01' = {
  name: vmName
  location: location
  properties: {
    hardwareProfile: {
      vmSize: vmSize
    }
    storageProfile: {
      osDisk: {
        createOption: 'FromImage'
        managedDisk: {
          storageAccountType: osDiskType
        }
      }
      imageReference: {
        publisher: 'Canonical'
        offer: 'UbuntuServer'
        sku: ubuntuOSVersion
        version: 'latest'
      }
    }
    networkProfile: {
      networkInterfaces: [
        {
          id: nic.id
        }
      ]
    }
    osProfile: {
      computerName: vmName
      adminUsername: adminUsername
      adminPassword: adminPasswordOrKey
      linuxConfiguration: ((authenticationType == 'password') ? null : linuxConfiguration)
    }
  }
}

output adminUsername string = adminUsername
output hostname string = publicIP.properties.dnsSettings.fqdn
output sshCommand string = 'ssh ${adminUsername}@${publicIP.properties.dnsSettings.fqdn}'
Pipeline létrehozása
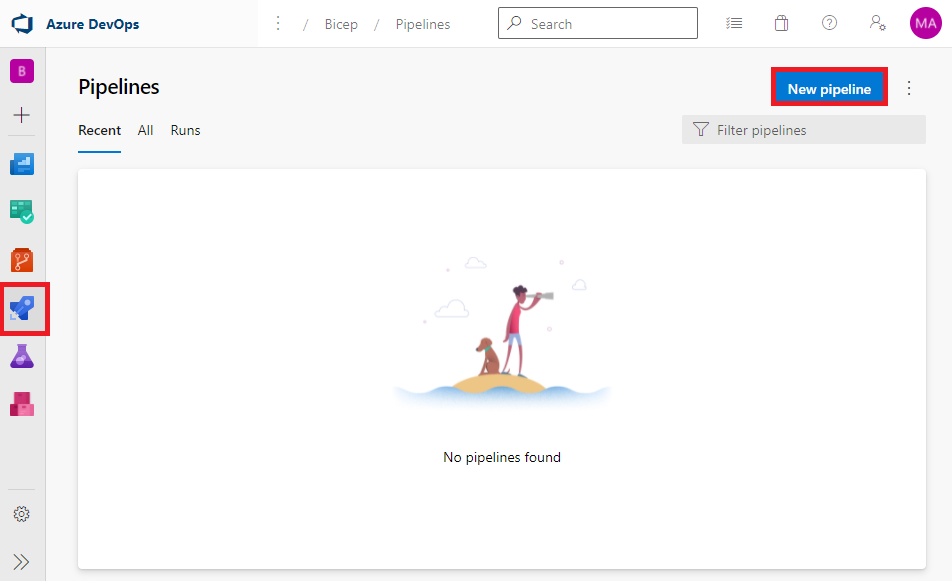
Létrehoztunk minden szükséges Bicep file-t az előző részben, így a következő lépésként már magát a pipeline-t hozzuk létre, mely alkalmazza majd a fájlainkat.
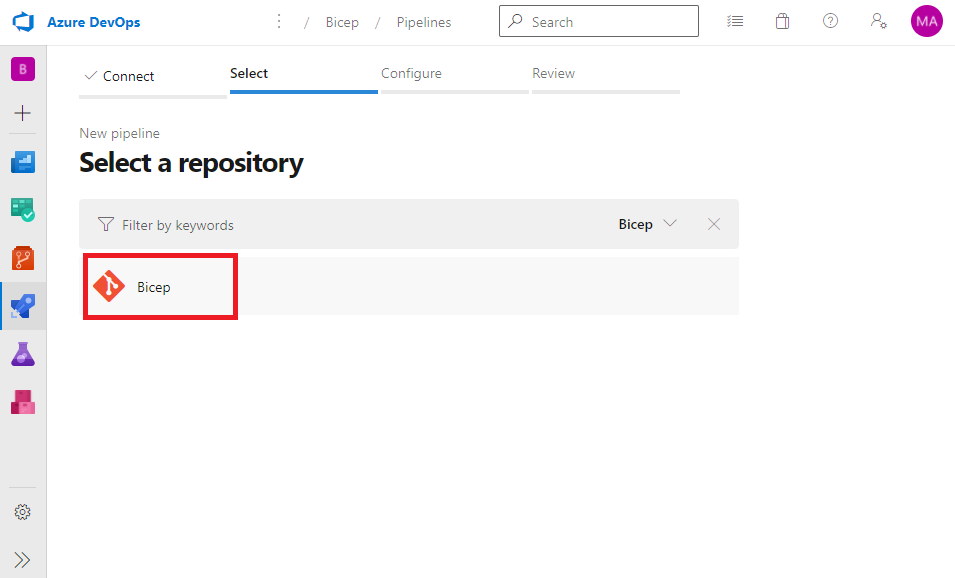
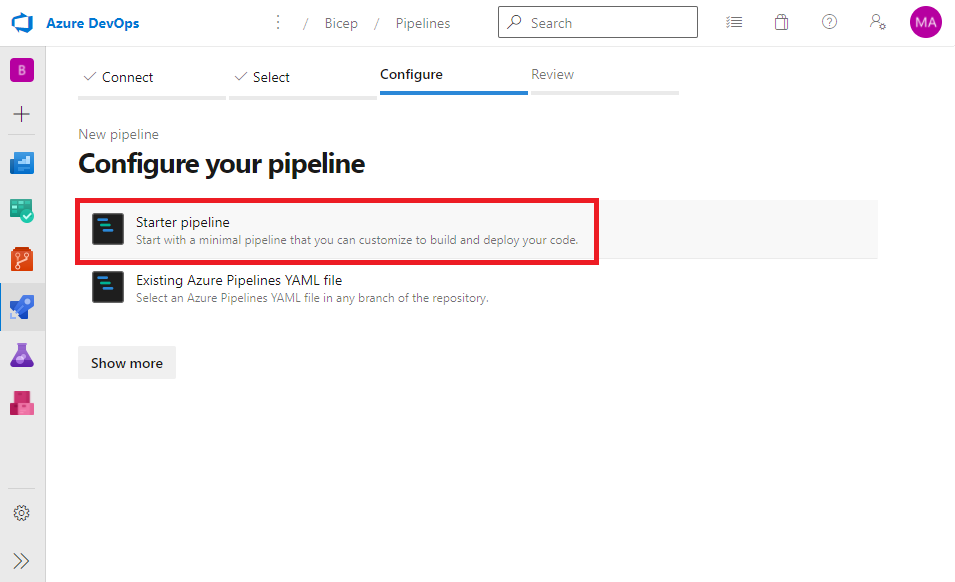
Hozzuk is létre a pipeline-t:
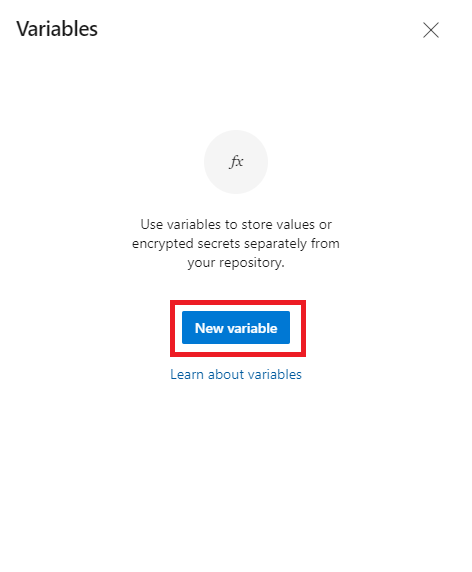
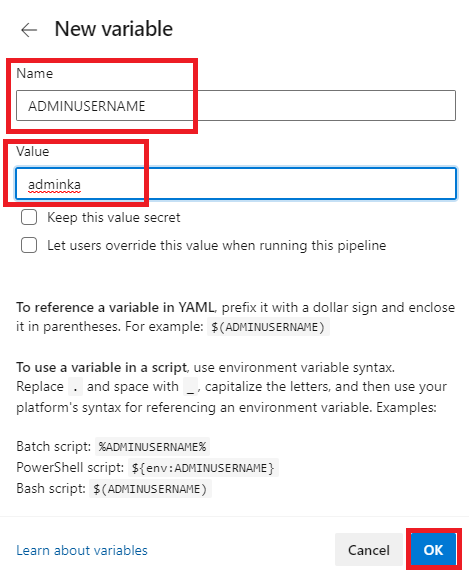
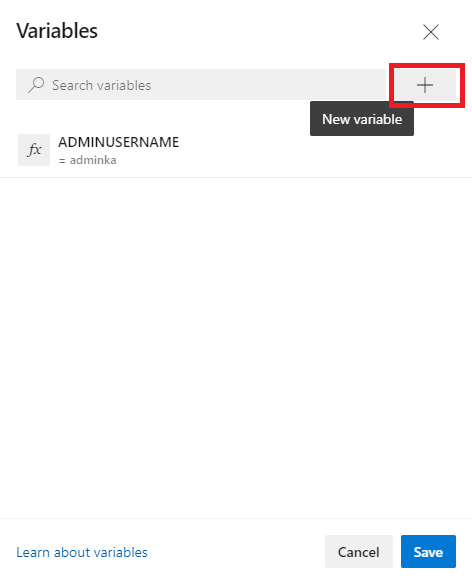
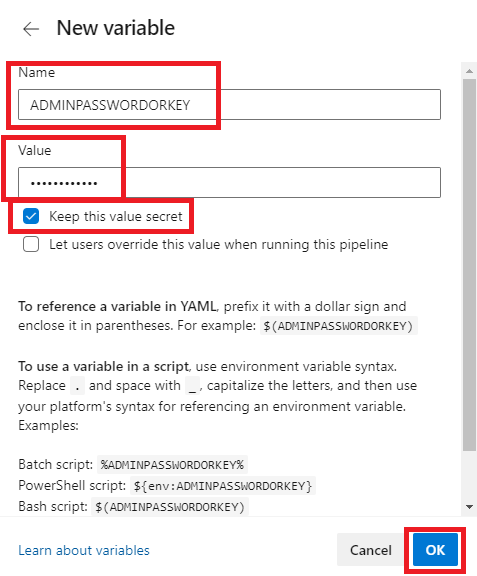
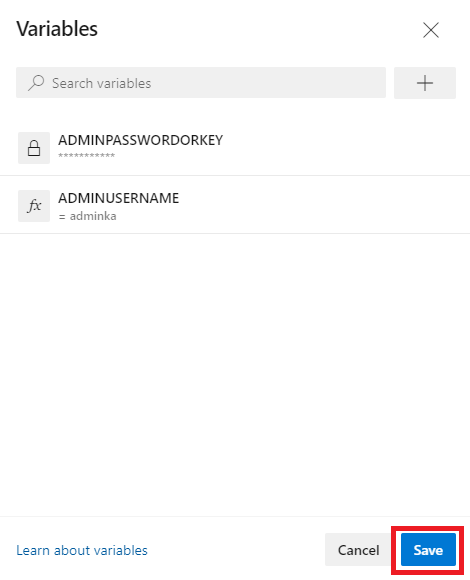
A gyakorlás kedvéért 2 változót hozzunk létre, mely a géphez szükséges felhasználónevet és jelszót fogja átadni a gépnek.
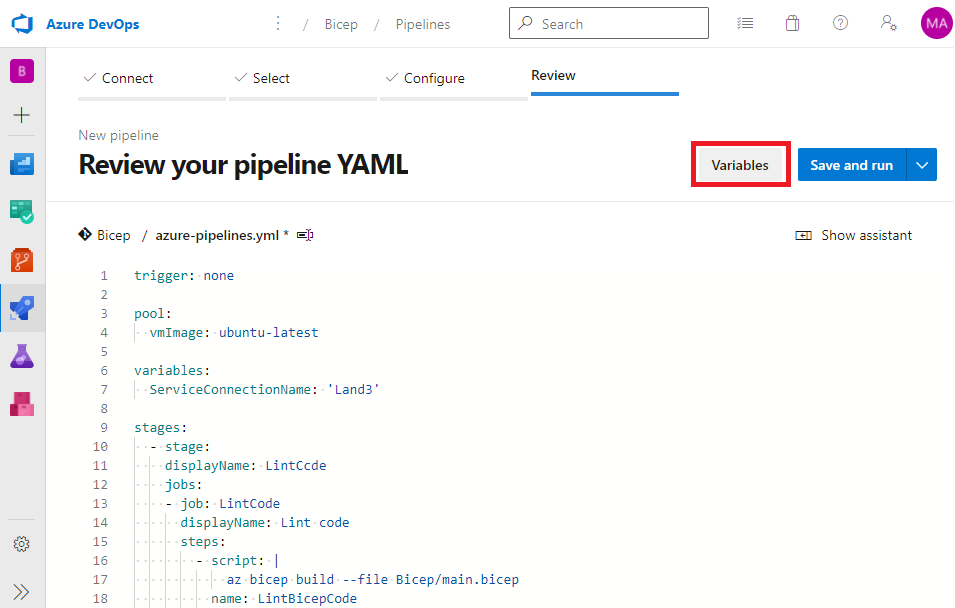
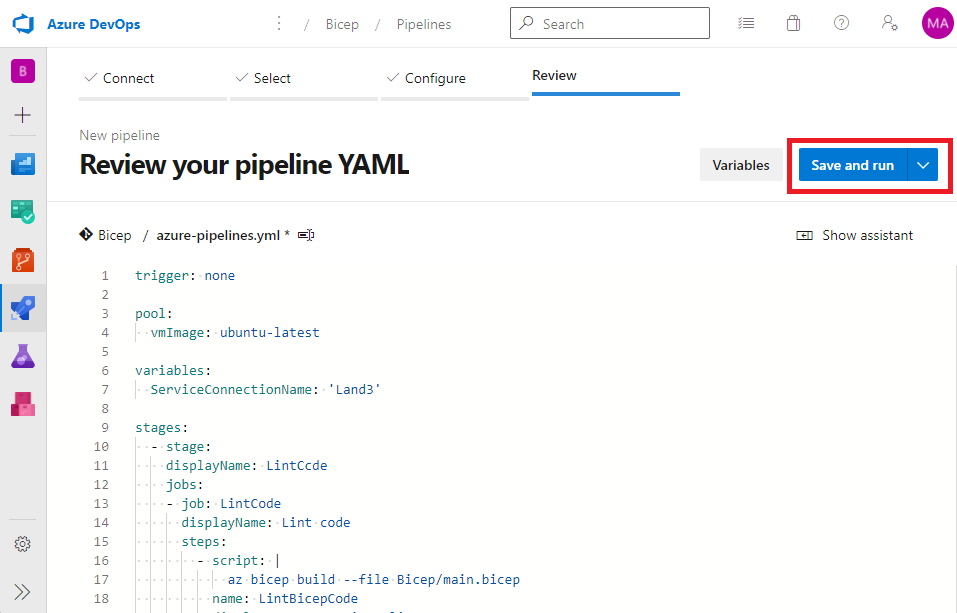
Töröljünk ki mindent az automatikus feltöltött file-ból, majd illesszük be a következő tartalmat:
1
2
3
4
5
6
7
8
9
10
11
12
13
14
15
16
17
18
19
20
21
22
23
24
25
26
27
28
29
30
31
32
33
34
35
36
37
38
39
40
41
42
43
44
45
46
47
48
49
50
51
52
53
54
55
56
57
#Nincs automatikus indítás, csak kézi
trigger: none

pool:
  vmImage: ubuntu-latest

variables:
#Cseréljük ki arra, amit létrehoztunk
  ServiceConnectionName: 'Land3'

stages:
#LintCode-ban ellenőrizzük, hogy nincs e szintaktikai hiba a fájlban
  - stage:
    displayName: LintCode
    jobs:
    - job: LintCode
      displayName: Lint code
      steps:
        - script: |
            az bicep build --file Bicep/main.bicep
          name: LintBicepCode
          displayName: Run Bicep linter
  - stage:
#Validálás alatt már a tartalmat is ellenőrizzük, ez már az Azure Resource Manager szinten
    displayName: Validate
    jobs:
    - job: ValidateBicepCode
      displayName: Validate Bicep code
      steps:
        - task: AzureCLI@2
          name: RunPreflightValidation
          displayName: Run preflight validation
          inputs:
            azureSubscription: $(ServiceConnectionName)
            scriptType: 'bash'
            scriptLocation: 'inlineScript'
            inlineScript: |
              az deployment sub validate \
                --template-file Bicep/main.bicep \
                --location=westeurope \
                --parameters adminUsername=$(ADMINUSERNAME) adminPasswordOrKey=$(ADMINPASSWORDORKEY)
  - stage:
#Deploy alatt tényleges "telepítés történik"
    displayName: Deploy
    jobs:
      - job: DeployBicepcode
        steps:
          - task: AzureCLI@2
            inputs:
              azureSubscription: $(ServiceConnectionName)
              scriptType: 'bash'
              scriptLocation: 'inlineScript'
              inlineScript: |
                az deployment sub create \
                --template-file Bicep/main.bicep \
                --location=westeurope \
                --parameters adminUsername=$(ADMINUSERNAME) adminPasswordOrKey=$(ADMINPASSWORDORKEY)
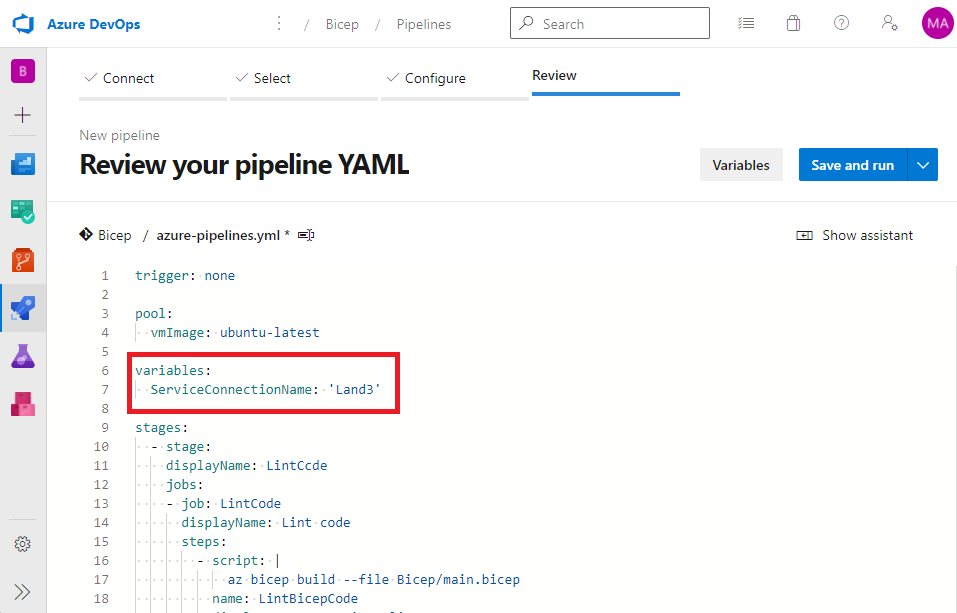
ServiceConnectionName: ‘Land3’ résznél cseréljük ki a ‘Land3’-at arra a névre, amilyen néven létrehoztuk a service connection-t

Ha mindent jól csináltunk, akkor létre is jön a gépünk Azure-ban a hozzá tartozó erőforrásokkal együtt. 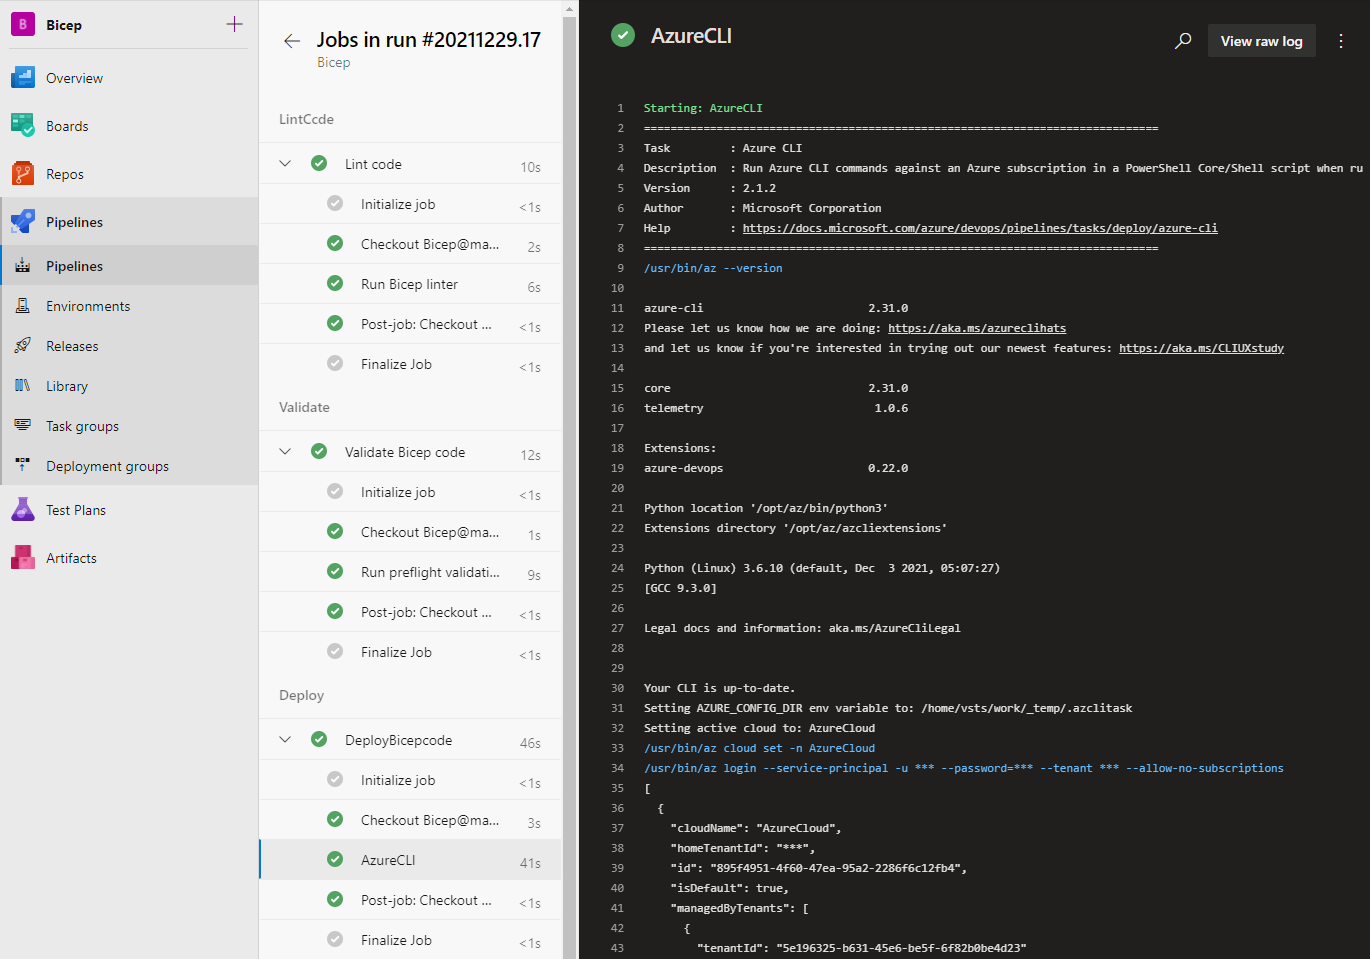
!Fontos, ha már nem kell amit létrehoztunk, akkor töröljük azt ;)
Ingyenes Azure DevOps parallel
Amennyiben még nem használtuk ez a környezet, és ezt a hibát tapasztaljuk:
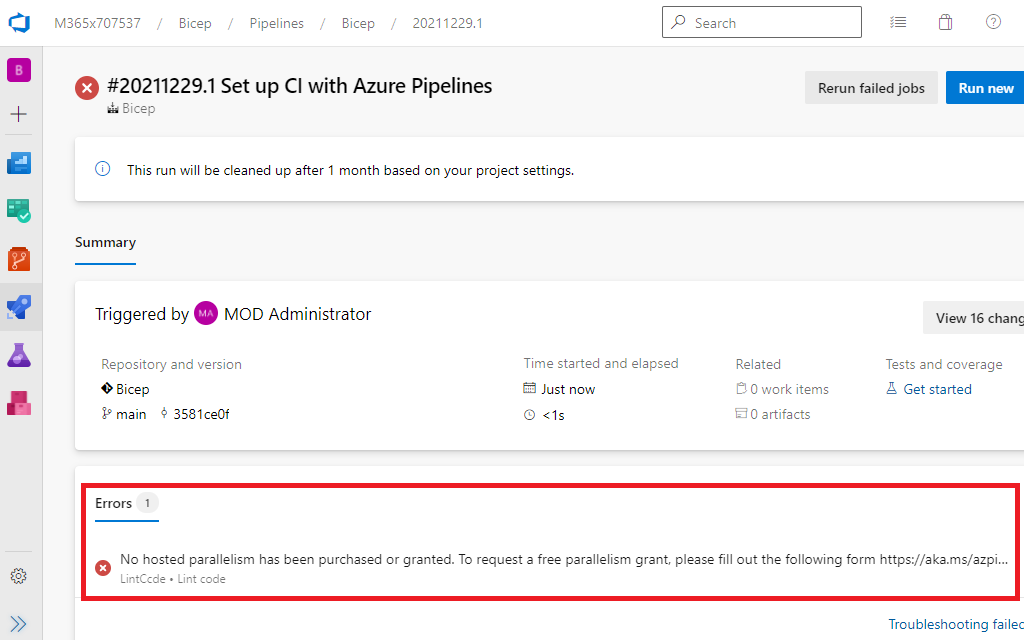
Úgy igényelni kell ezen a formon keresztül futtató környezetet: Link
Pár óra után engedélyezik és már mehet is a tesztelés.(Régen automatikus volt, de gondolom páran visszaéltek vele…)